

- 0
- 853 words
Building a WordPress website has never been easier. Whether you want to create a personal blog, a portfolio site or a small business page, Hostinger offers an affordable and beginner-friendly way to get your site online quickly.
In this guide, I’ll walk you through the entire process — from purchasing web hosting to launching your fully functional WordPress website.
Why Choose Hostinger?
Hostinger is one of the most trusted web hosting providers for new users. It stands out for a range of practical features:
- Affordable pricing for all budgets
- Free SSL certificates included
- One-click WordPress installation
- Fast and stable server performance
- Simple, easy-to-navigate dashboard
- 24/7 professional customer support
For anyone new to running a website, Hostinger covers all the basics you need to build a professional site without advanced technical knowledge.
Step 1: Choose a Hosting Plan
Head to the Hostinger official website and pick a hosting plan that matches your needs.
For most beginners, the Premium Web Hosting plan is the most practical choice. It comes with these useful features:
- Support for multiple websites
- Complimentary domain name on eligible plans
- Free SSL protection
- Server settings optimized for WordPress

Once you select your plan, complete the checkout process and register your Hostinger account.


Step 2: Register Your Domain Name
A domain name is your website’s unique online address, such as:
When picking a domain name, follow these simple rules:
- Keep it short and easy to remember
- Avoid complicated spellings or special characters
- Make it relevant to your site’s theme or brand identity
If your hosting plan includes a free domain, you can claim it during the account setup process.

Step 3: Install WordPress
After your hosting account is activated, follow these steps to install WordPress:
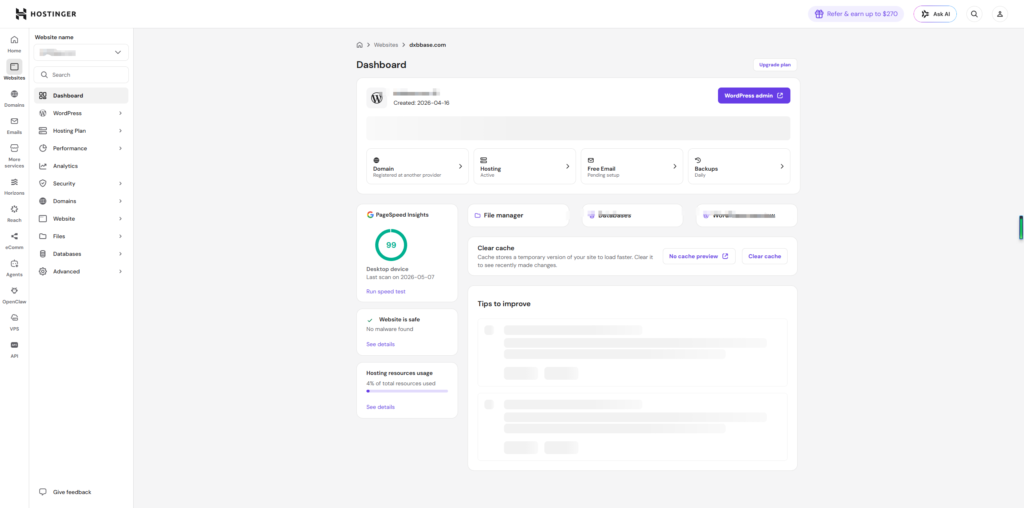
- Log into your Hostinger dashboard.
- Locate and open the Websites section.
- Click Add Website.
- Select WordPress from the available options.

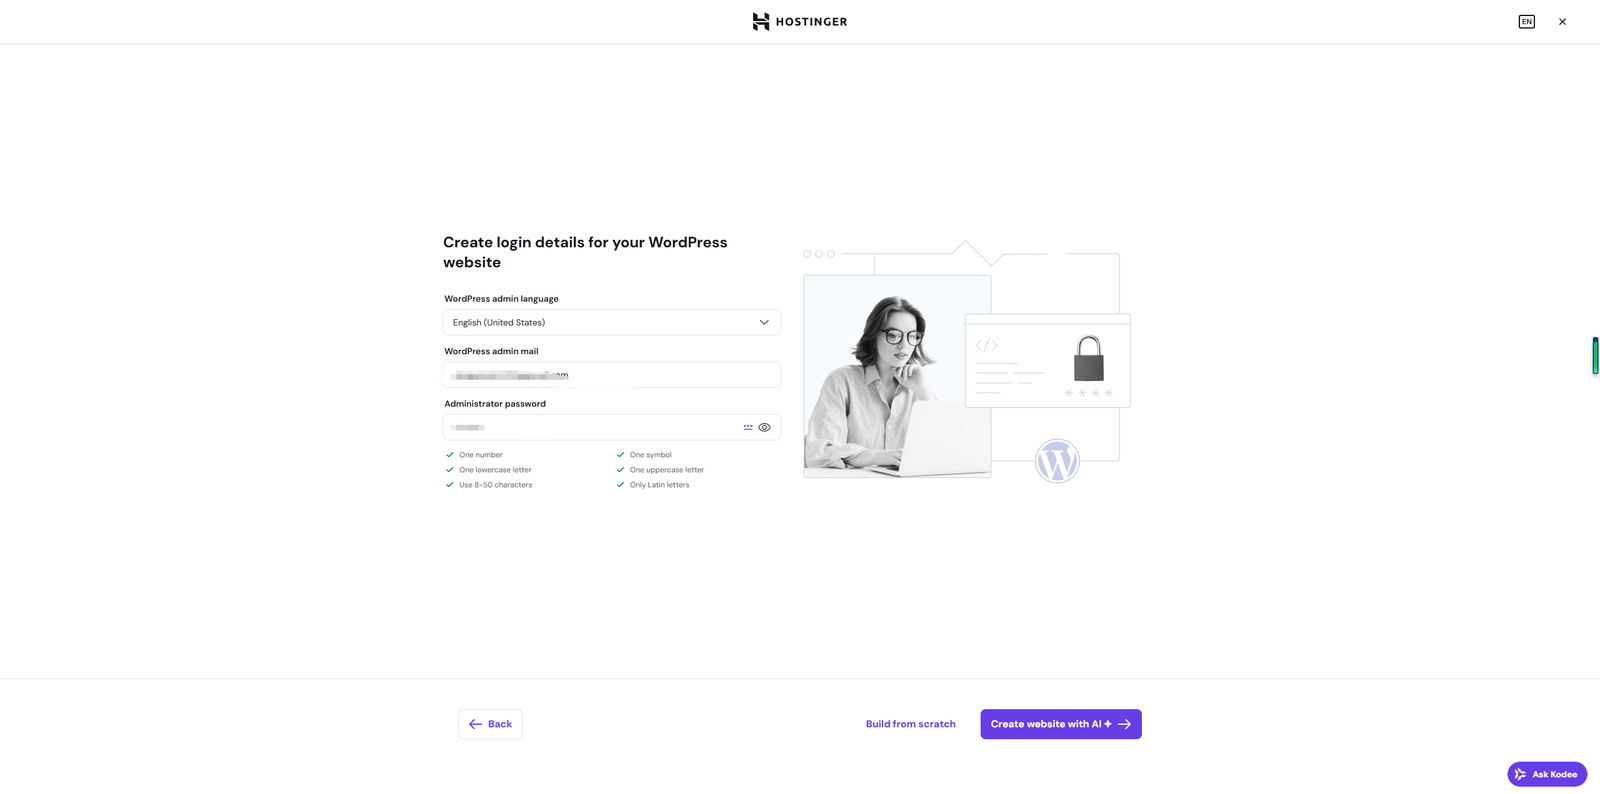
- Create your WordPress administrator username and password.
- Choose your preferred website language.
- Finish and confirm the installation.

Hostinger will set up WordPress automatically, and the whole process only takes a few minutes.
Step 4: Log In to WordPress
Once the installation finishes, you can access your WordPress backend using this link:
Sign in with the username and password you created earlier.

From the WordPress dashboard, you can manage every part of your site, including:
- Blog posts and articles
- Static pages
- Website themes
- Functional plugins
- Global site settings
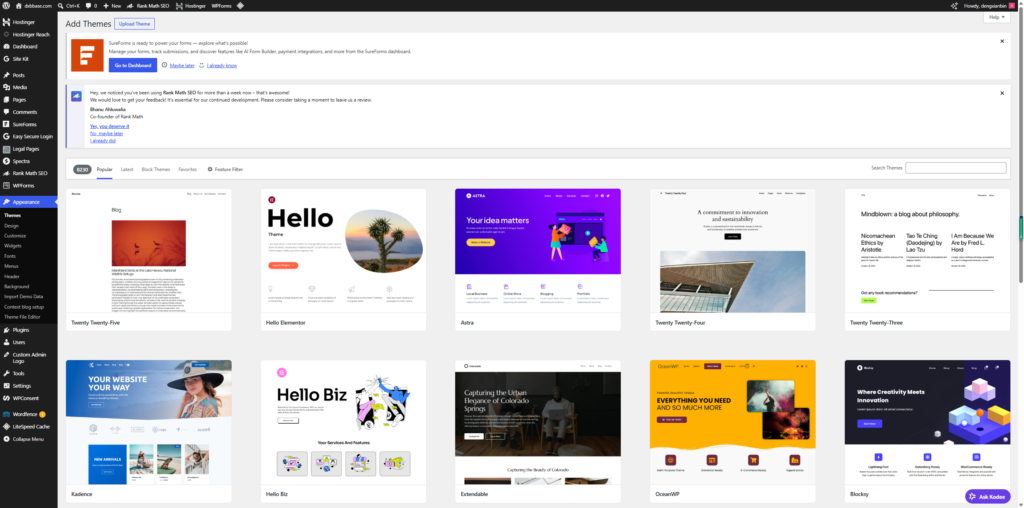
Step 5: Choose a WordPress Theme
A theme controls the overall design, layout and visual style of your website. Here are some popular, lightweight free themes recommended for new sites:
- Astra
- GeneratePress
- Kadence
- Blocksy
To install a new theme:
- Go to Appearance → Themes inside WordPress.
- Click Add New.
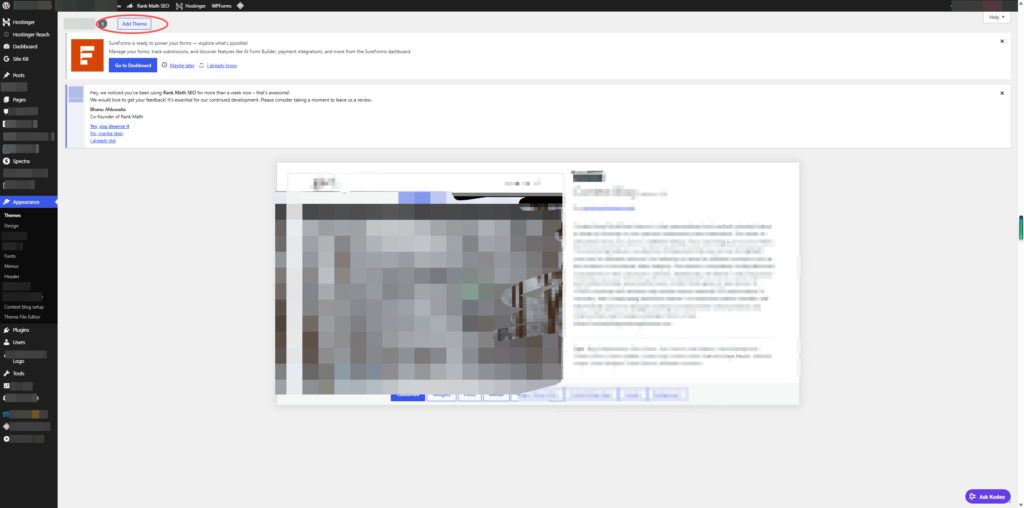
- Search for the theme name you want to use.
- Hit Install, then activate it.
Lightweight themes help your site load faster and work better for search engine performance.
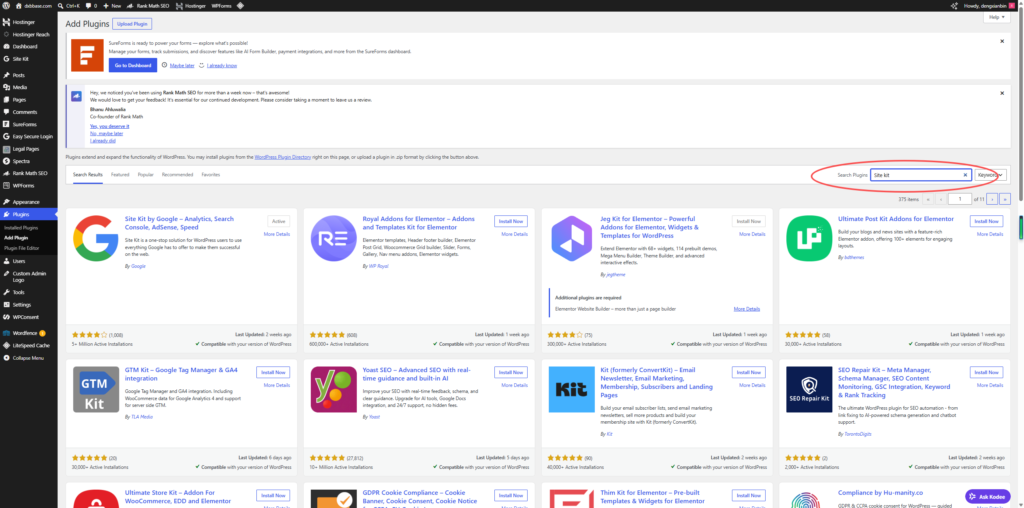
Step 6: Install Essential Plugins
Plugins add extra functions to your website. Below are essential tools most sites will need. Only install plugins you actually require, as too many tools can slow down your pages.
SEO & Optimization
- Rank Math SEO
- Yoast SEO
Site Security
- Wordfence Security
Caching & Speed Boost
- LiteSpeed Cache
Contact Forms
- WPForms
Website Backups
- UpdraftPlus
Step 7: Create Important Pages
Before you publish content to the public, create these essential pages first:
- Home
- About
- Contact
- Privacy Policy
- Terms of Service
These pages make your site look complete and reliable. Many regions also require privacy and terms pages for public-facing websites, so do not skip them.
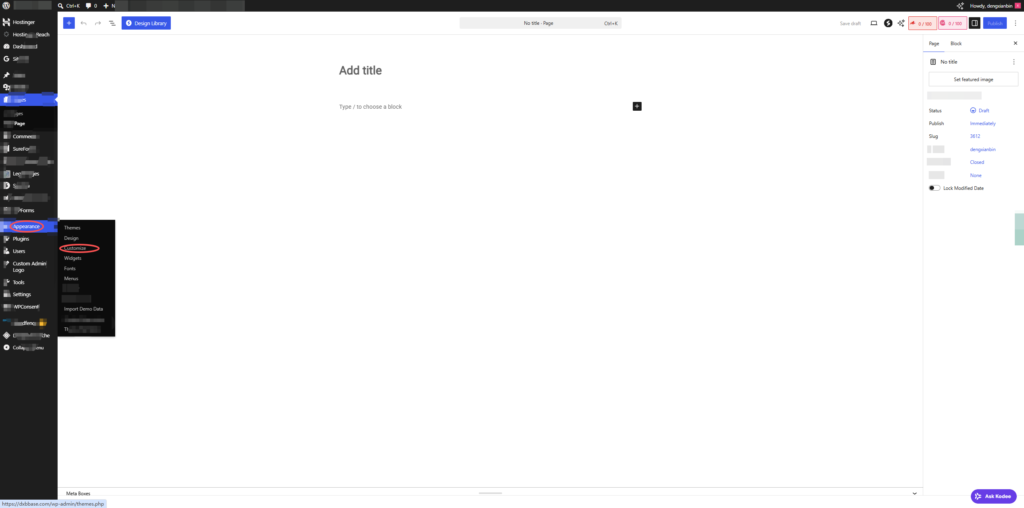
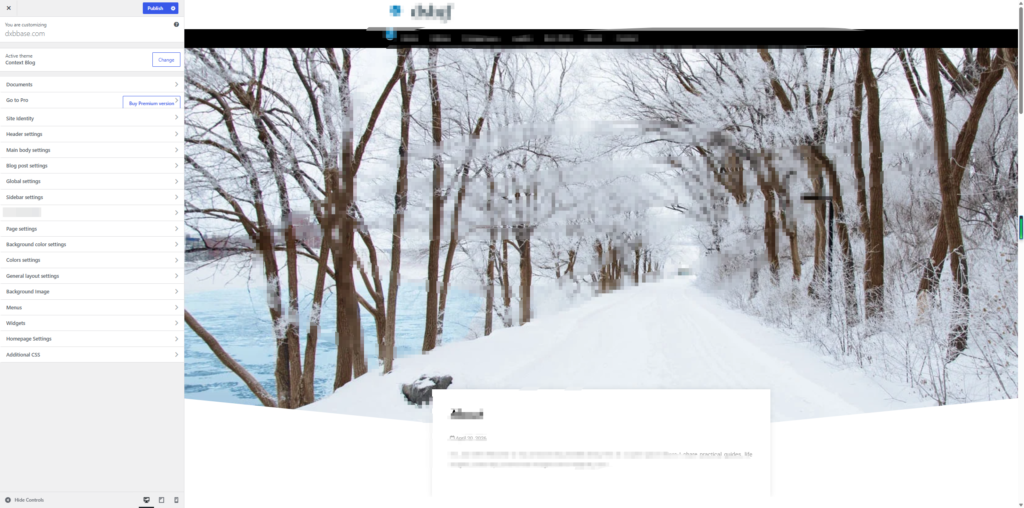
Step 8: Customize Your Website
You can adjust the look and layout of your site via the built-in customizer:
Navigate to Appearance → Customize.
Common customizations include:
- Uploading a site logo
- Adjusting color schemes
- Setting font styles and sizes
- Editing header and footer layouts
- Building navigation menus
Try to keep your design clean and intuitive for all visitors.
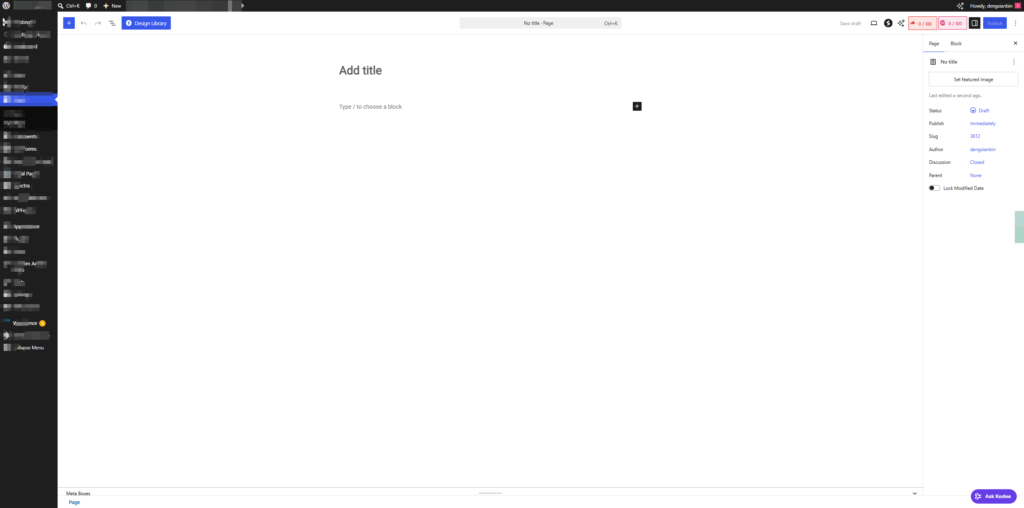
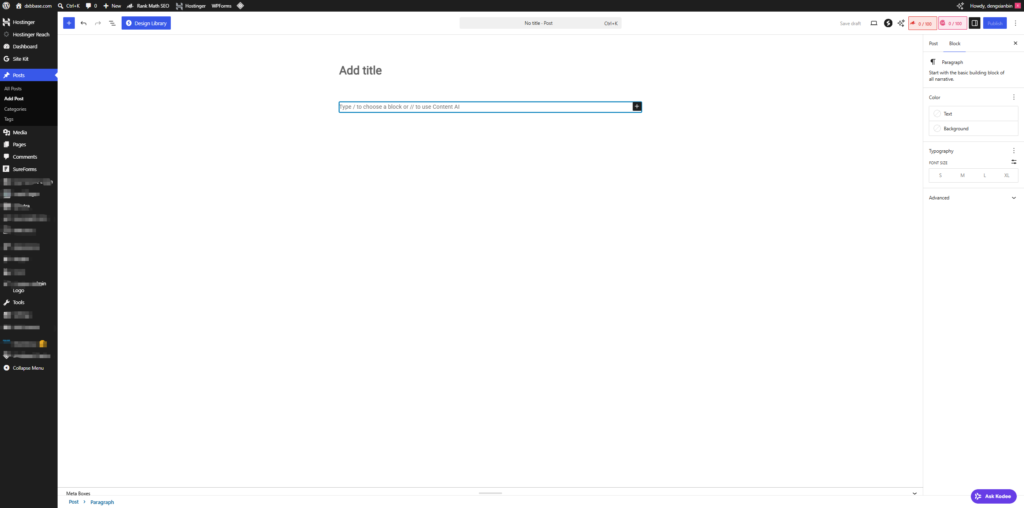
Step 9: Publish Your First Blog Post
Ready to share content? Follow these steps to create your first post:
- Go to Posts → Add New.
- Type in a clear post title.
- Write and format your content.
- Insert images if needed.
- Click Publish to make it live.
Focus on creating useful, well-organized content that brings value to your readers.
Step 10: Enable and Verify SSL
Every Hostinger plan includes a free SSL certificate. This tool encrypts data on your website, protects visitor information and builds trust. It also plays a positive role in search rankings.
To check if SSL is working properly:
- Open your website in a browser.
- Confirm the website address starts with:
text
https://
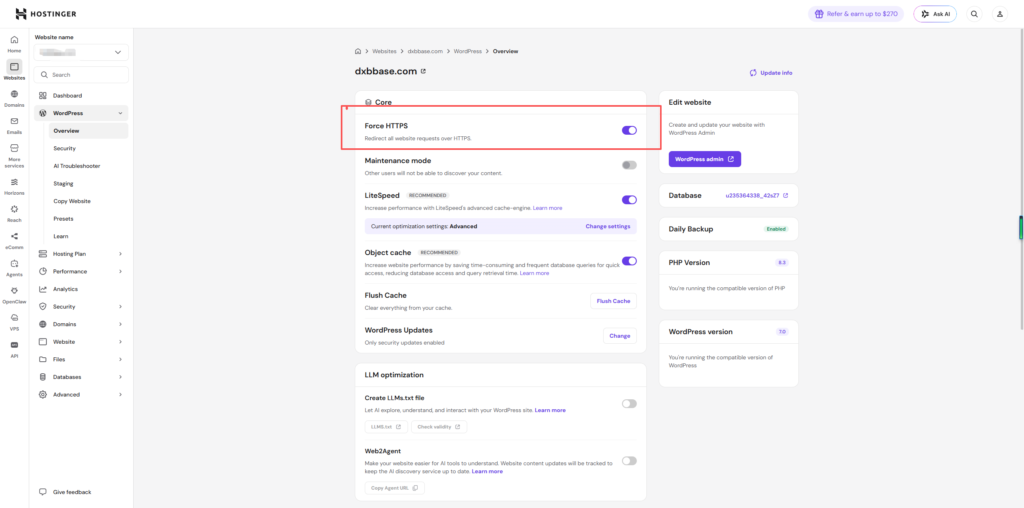
You will also see a small padlock icon next to the URL. If you see security warnings, go back to your Hostinger dashboard and enable Force HTTPS to fix the issue.
Final Thoughts
Hostinger makes it simple to launch a WordPress website, even if you have no prior experience with web building. With a domain name, hosting service and WordPress fully set up, you can get your site online in under one hour.
Launching the site is just the beginning. Keep updating content regularly, optimize your pages over time and maintain your site consistently. With steady effort, your website will grow and serve its purpose well for a long time.
Author
dengxianbin735@gmail.com
Related Posts
Official Step-by-Step Guide to Configure Google Ads API Credentials
- 0
- 452 words
This document provides a standard, official procedure for enabling the Google Ads API and obtaining all required authentication credentials. This guide covers...
Read out all
How to Use TopCashback Correctly: A Step-by-Step Guide to Maximize Your Savings
- 0
- 723 words
How to Use TopCashback Correctly & Earn Maximum Cashback Description: Learn how to use TopCashback step by step, avoid missing cashback, master...
Read out all